
For my Love of Headwraps
- Yours Sincerely, Damilola
- May 2, 2020
- 2 min read


Dear reader,
I have a friend who has been asking me for over year now, where I get my headwraps from and how I tie them. So to my dear friend Lydia, this blog is especially for you!
Why do I love headwraps so much?
Well growing up, my mum would dress me and my sisters in matching outfits (which probably explains why people thought we were triplets), and most of the time our outfits would be paired with a headwrap, headband or sometimes even hats! However, wearing a headwrap was always my favourite!
Where do I get those luscious headwraps from?
You're probably thinking there's a specific website you can go on and get your own. Okay, I'll tell you - listen carefully, I get them from www.mymum'sleftoverfabrics.com, how funny would it be if that was an actual headwrap website, but that is actually where I get my headwraps from! My mum loves sewing, especially clothes for herself (most of the time), so she buys fabrics from all over - online, from fabric shops and Nigeria. So the leftover fabrics that I like, I use as headwraps - it's as simple as that.
Anyone who knows me will know that I have a go-to headwrap, It's a simple black fabric that has appeared several times on me with different outfits - from casual, camping comfies to workwear and every time I wear it, it looks just as good as the last time.
So here's a quick tutorial:
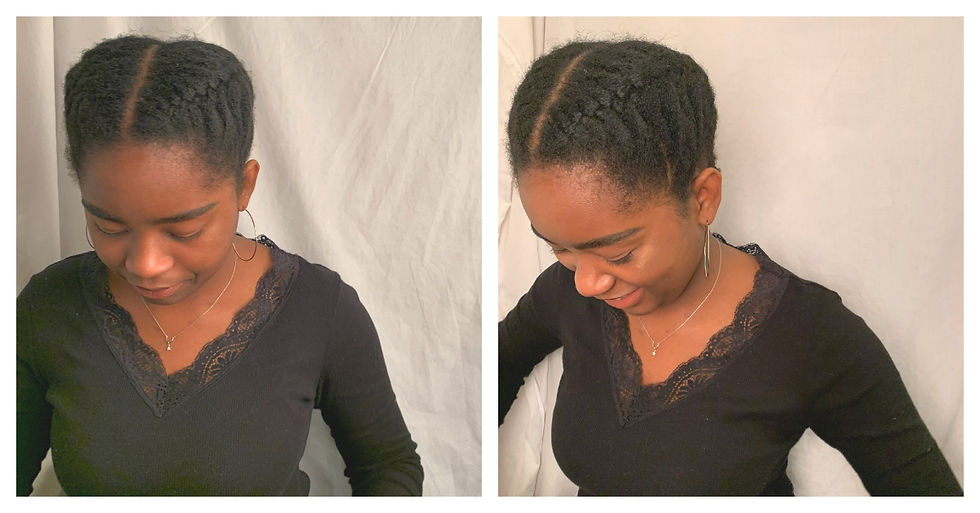
Step 1
It's important to have a good hairstyle first as this holds and shapes your headwrap. My go-to hairstyle that works every time is two braids to the back.
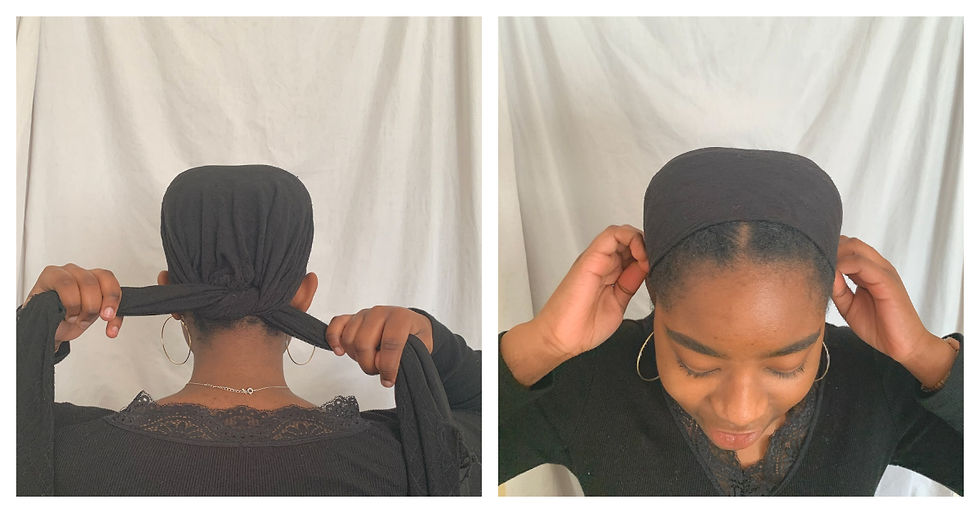
Step 2
Place the headwrap centred on your head, with the same length of fabric on both sides.

Step 3
Tie the first knot to the back. For me, I like to show some of my edges, so I gently push the headwrap from the front to the back and this is how much hair I like to show but it's completely up to you. Just make sure you go back to tighten the first knot.
Step 4
Then, tie a second knot on top of the first knot as this will secure your first knot in place.

Step 5
It's time to make a bun! For me, it's more comfortable to start wrapping with the fabric on the right side. So take the fabric on the right side and tightly wrap it around the two knots and then tuck in the remaining fabric under the bun to secure it.

Step 6
Now wrap the fabric on the left side around the bun and tuck in the remaining fabric under the bun again to secure it.
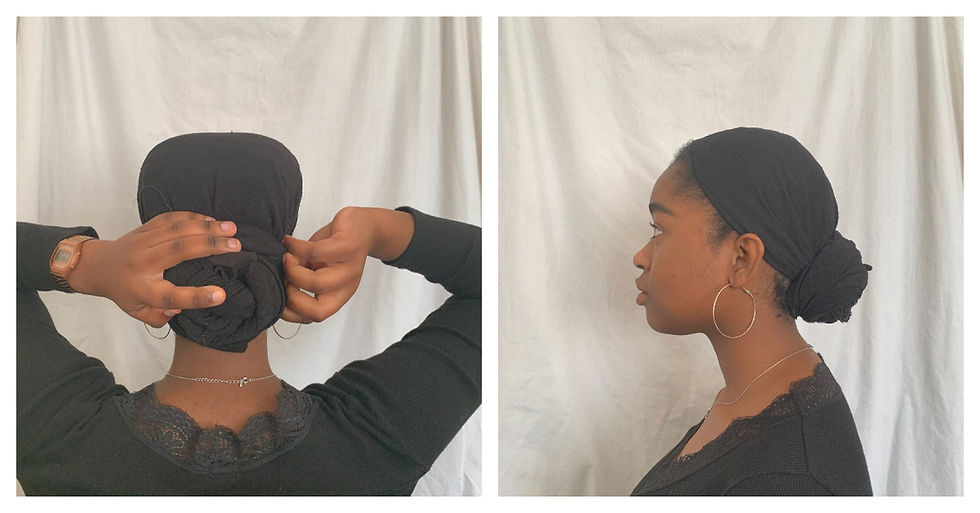
Step 7
You are done! Make sure you use a mirror to check that the bun is centred to your face. If not, just slightly move your headwrap to centre it and that's it!

Hopefully, by following these steps you've styled the perfect headwrap!
Yours Sincerely,
Damilola.
Photo credit: @_dmoprophotos

I wear headwraps too and I found this very fun to read🤗